Stamping on Metal for Kids
Instructor Lucy Kelly, daughter of Lisa Niven Kelly, teaches this introduction stamping on metal class for kids! Don’t let Lucy’s age deceive you, this girl knows her stuff! Follow along as Lucy teaches all her tips and tricks to making cool stamped metal jewelry. This class is recommended for kids 8 and older.
FUN FACT, this was shot in 2013, Lucy is now in college :)
This class has a running time of 17 minutes.
hi I'm Lucy Kelly daughter of Lisa Niven
Kelly owner of Beaducation.com and today I'm
going to be teaching you stamping
stamping is very fun and very easy and I
love it so I'm just gonna be covering
the basics but if you want to get more
in depth I would go look at my mom's
video but hers is kind of long kind of
boring for me so I would just recommend
that for more older kittens and so let's
just get it started okay so I'm gonna be
teaching you about all these confusing
awesome things that you need for
stamping so here are the stamps it's
letters and shapes you really need them
because this is how we make a letter on
the blank and if we don't have these
basically you can't do anything these
are the hammers so this one I like the
best because it's a lighter and it's
smaller so I would recommend this one
for kids this one most adults like like
my mom so I would recommend this one for
adults because it's like longer and
heavier this is a bench book so you're
gonna need it to hammer the stamps on a
blank on and if you don't have it we'll
make this big like crevice in it or you
might not see the stamp well enough and
this match down here this you don't
exactly need but it makes it sound
quieter so I'm going to use that and
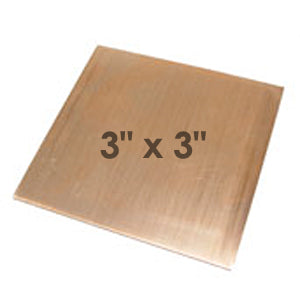
this is a blank you need it a lot
because this is where you put all these
stamping on this is my part this is my
purchase blink you always want one of
these so then you can stamp on it for
practicing because if you have like
you're just new or if you have a new
design that you don't know you want to
practice it to make sure it's right this
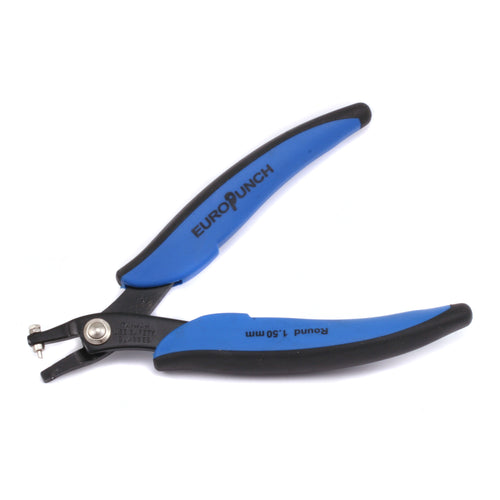
is a hole puncher and you use
to make a hole in your blank so then you
can stick a jump ring through it which
I'm going to be showing you how to put
through later and then stick a chain
through that and be done with your
necklace or bracelet or whatever you
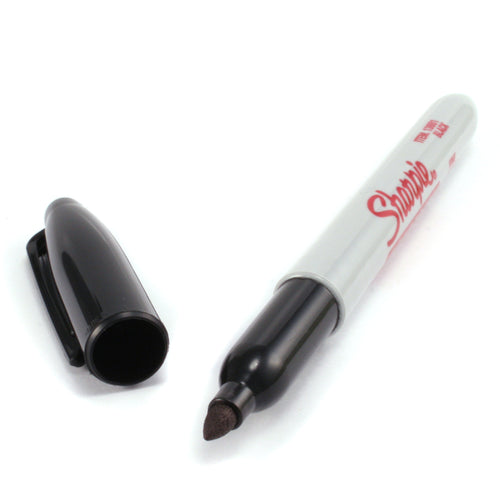
want to do and these are the Pens that
you're going to be using to to make
color inside of your stamp and yeah and
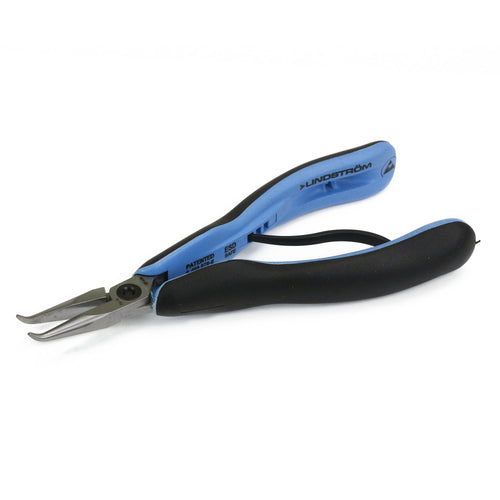
then these are the pliers to open and
close the jump ring I'll show you how to
be doing that later
and there's the the blanks
there's circles stars hearts whatever
you can think of and then for the people
like me that love mustaches its mustache
made out of metal that you can stamp on
like this necklace I have here and then
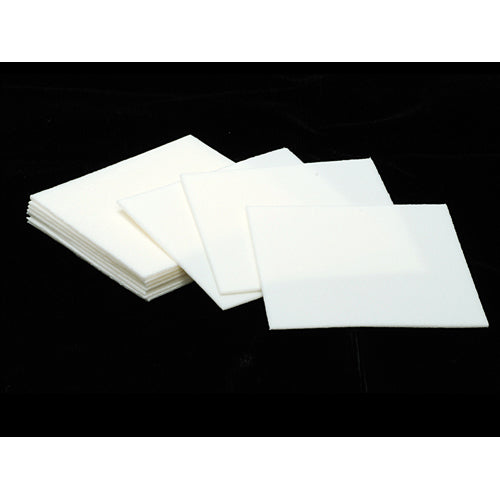
this is a pro polished pad you'll be
using it to there's more than one you
you can be using it to rub off the
excess sharpie on your plink and this is
the tape you can use it to either hold
down the blank if you're gonna stamp in
you're afraid that you're gonna hit your
fingers you're holding down the blank
with your hand or to put it down so you
can move the stamp down to make it line
up and so let's get started with
stamping
so now it's time for the standing so we
are going to practice step so basically
throw the hammer you do not want to hold
it up here because it's like too close
you do not want to hold it down here
because it won't have as big of well it
will have like too much of a whack and
it will be harder to bring it up so for
the samurai we'll just hold it right in
the middle and so for the stamps I just
grabbed this random a so for this one of
the sides of this kind will have a a
otherwise some of them have like a
groove in it some of them have a logo or
something on one of the sides so then
that's where you put your thumb that's
the side that you put your thumb you'll
want to put your thumb there or else
I'll be upside down you want your thumb
like kind of towards the bottom not
really up here because then the hammer
will go and just hit right there but
like right there pretty much and what I
like to hold it is like this with two
fingers on the side one of them on that
side but you can hold it any way you
want you know three don't care and so
yeah so then the design is what's sad is
that they don't have any sort of logo or
groove or anything so you have to find
the bottom of the heart put your thumb
where the bottom of the hardest or for
these same thing pretty much well these
might have a logo where you put it but
usually they don't you do not want to
hit it too hard because then it will
like be really big in there you do not
want to hit it too soft it's none of the
sharpie with or will show up and so you
want to give it like one two or three
good whacks so like
so I'm just gonna do it one more time to
show you that I'm holding it perfectly
straight all the parts of the letters of
the letter is on the blank from the
hammer I'm holding in the middle you do
not want to go over scale to hit your
hands you do not want to go over here or
else nothing will happen you want to go
right on top you do not want to be over
here or over here you definitely do not
want to hit it like that because it's
just going to knock it out of your hand
so like Oh perfectly straight hold the
hammer so that's a pretty good eh okay
so now we're going to be doing design
stamps there are a little harder than
letters cuz they have like designs on
them so the harder of the design like
more little details in it the harder it
is to stamp so I would always choose
like simple ones like this one's just a
little flower this one's just a little
star these are really good I started out
with these I remember doing these
because they're very small and very easy
so when you stamp one if you put it down
straight as usual you want to stamp a
little bit harder because it's more of a
design for the harder they are like the
more designed to in them the harder you
will hit the hammer on the stamp so if
you don't get the little design I'm
going to show you the tilts on top so
what you want to do is get your thumb
where the bottom of the design is put
your thumb always towards you you always
want that
and so then you hit it a couple times on
the middle and then you do like very
slight turning
see that worked and I got the full
design you don't want to do too big of a
turning or aisle to kind of make another
shadow of the letter on the side so
it'll be like three three hearts that
I'm using right now instead of just one
and you don't really want that it looks
really horrible so I wouldn't do that if
I were you okay so what we have going on
here is this is our blank and this is
our straight tape so these four dots are
to show me where I should put my oh my
oh my see and my Y and then we have it
on our bench block on the pad so doesn't
be too loud so I'm going to take the out
and I'm gonna here I'm going to hold it
like this so you can see and I'm going
to put it down kind of where the purple
dot is so then it's it kind of like gets
stuck there does it get stuck there you
can still move it out but I think if I
go like that it won't come out which you
want so then you can line them up so
then I'll start with my L so that turned
out kind of bad so this is the perfect
time to show you what I would do so I
would kind of move it around till I kind
of feel it kind of click in to where it
was so I think that's good but actually
holding it wrong okay so you think
that's good okay I think that's good now
okay
now coming in with the U and I'm just
going to slide it down and then I'm
gonna hit it
so that you actually turned out pretty
good so I'm just gonna leave that for
the see now and pretty good and then the
Y okay no you can't see it well but
turned out pretty good you can see a
little bit of it but yeah now it's time
for the color I'm just going to take the
tape off
I'll just put it down here so if you can
see that there's mine you can sort of
see it so what I'm going to do is I'm
going to take a sharpie I'm just going
to take a purple one just for no reason
and I am going to just kind of color
over the letter just so it gets in every
single groove you can also do it neatly
where you just kind of do it straight
over the letter like that like you can
do it kind of neatly or this messy the
messy ones more fun so I'm just going to
color everywhere with the sharpie and
then I'm going to take my handy Pro
polish pad right here if you can see it
I'm just gonna take it and just wipe on
it see how it kind of gets it off you
might need a wipe it for a while because
it might be like excess everywhere and
co-state it's staying in the grooves of
the letter and see how that you you can
barely see anything
I messed up there by not having it -
like it's not - it's not deep enough so
then what I'm going to so I can't really
do anything about that right now
so that's why I want to hit it hard
enough so then I'm just going to wipe
this so that looks pretty good
so now we're going to punch a hole into
it so what I'm gonna do is I'm going to
take this sharpie pick up my blank hold
it and put a dot exactly where I want
the hole you want to make it kind of
close to the top but not too into the
middle and not too up or else it will
just get into the side so I'm going to
put that right there and close my
sharpie so I so what I'm gonna do this
and so I would say to have this little
thing right here be at the top of it
where you want the top of it like the
front side and so then I would
take it put it on the purple dot and I'm
just gonna squeeze as hard as I can for
some people you're not for some people
it's like too hard so I'll just let your
parents do it and then you want to twist
it off so here's my hole and it's pretty
good okay so I punched my hole and I saw
a little ink on it so I'm just gonna
wipe it off with my pro polish pad gotta
do it pretty hard and so now I'm going
to teach you how to put a jump ring on
it
okay so here's how to open and close the
jump ring I'm just going to use my
fingers to act it out so basically like
the jump ring it has a little line in
between it so what you do is you use two
chain noses to open it like this you
want to go to the side like that not
like this if you go like this literally
it'll take you ten minutes to get it
back so what you do is you open it like
that
you stick the blanket in it and then you
kind of go like this because it's going
like that will kind of split it apart so
you go like this so you can get it
together like that you're trying to get
it like this as close as you can get to
this and so basically you're you want
two of these it doesn't really matter
how different they look how far they
open it doesn't really matter so you'll
pick the jump ring up and you're just
going to kind of grab it on the side
with both and then you're just gonna
split it open so I'm just going to stop
right there to show you how to split
open like this not open like that you
don't want it like that so then you
stick the blank inside
like that just put that in there and
then you grab the sides this might be
kind of hard at first but it will get
easier the more you do it so then you
kind of just go like this you just kind
of keep going like this till you get it
closed and so now it's on a jump ring
so here's the pendant that we just made
and it's all finished I put a chain on
it and it looks really good these are
just some other ideas that you could do
like you could do this mustache that I
made that says be awesome with dots
everywhere it's awesome there's a
sluicey bracelet that I made that's
awesome it's just one letter on each
blank there's this one that my sister
made for a friend there's this one that
my sister also made that says find
freedom in the music and then there's
this one that I made where we just punch
two gigantic holes and one that just
says happy and then a camper and and you
can just run a friendship bracelet
through so this is a good idea so thank
you for watching my video hopefully
you'll make a lots of cool jewelry and
come watch some of our other videos
which are really awesome so Lucy outs


Tools & Materials
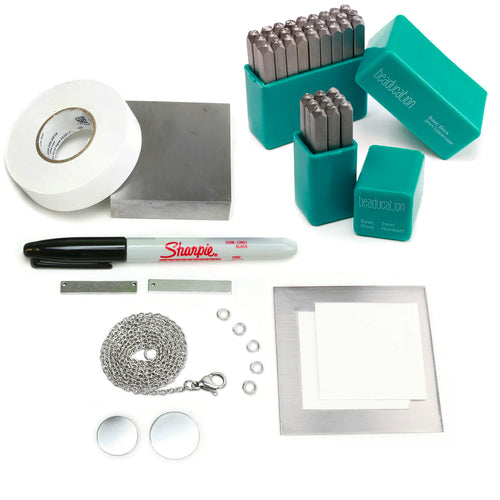
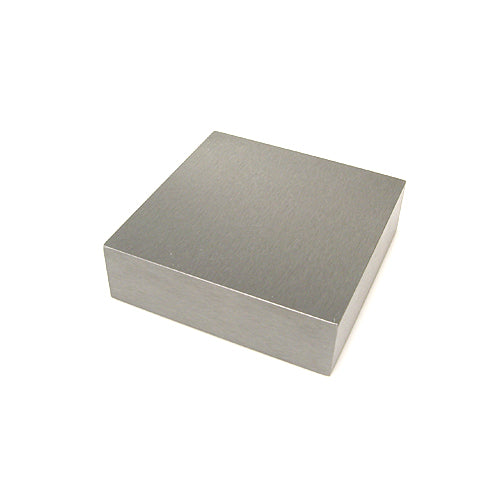
Steel Bench Block - 2.5" x 2.5"