Punched Metal Jewelry
Aisha’s book New Directions in Punched Metal Jewelry has 8 punched patterns, and 20 beginning jewelry projects.
hi my name is Aisha fromansky and I'm
here with Beaducation.com today to
show you my favorite method of stamping
which is also a method that I wrote a
book about I call it punch metal jewelry
punch metal jewelry is a technique where
you use design stamps to create
repetitive all-over patterning and now I
came up with this design a while ago
when I wanted to do this and I didn't
have a rolling mill so what I did was I
use graph paper and create all these out
what I think are really cool patterns
that are actually in the back of my book
but today I'm going to show you how to
use graph paper to build your own custom
design so let's get started here are the
tools and materials we're using in
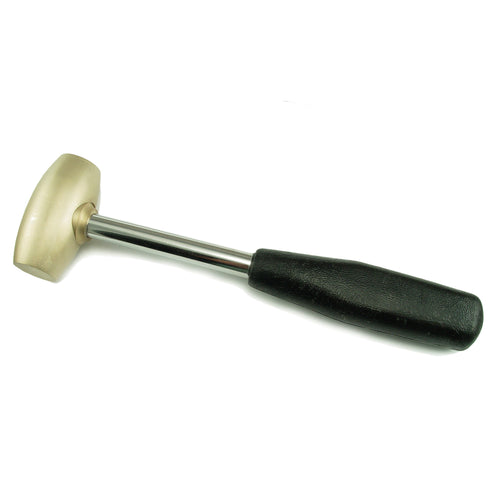
today's class bench block sandbag
1-pound brass mallet plastic mallet and
a variety of design stamps let's talk a
little bit about which design stamps I
prefer for this technique I like small
little detailed stamps like these the
asterisks the period the three bubbles
set and other small little design stamps
like the flower and the star here are
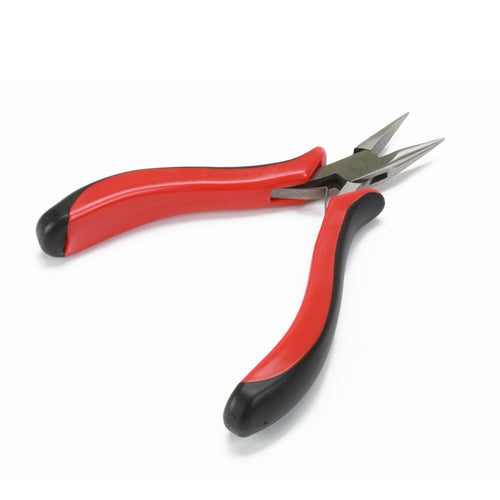
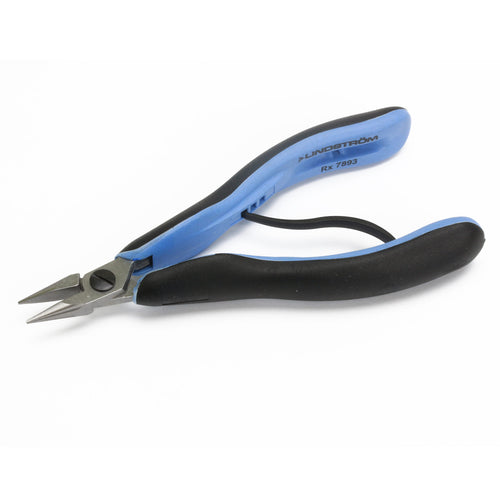
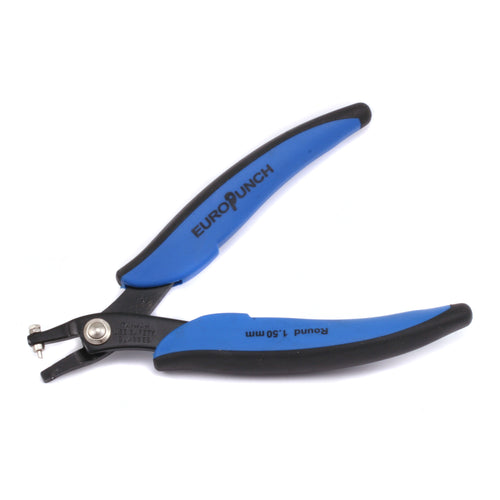
more tools we'll be using metal shear
chain nose plier hole punch pliers
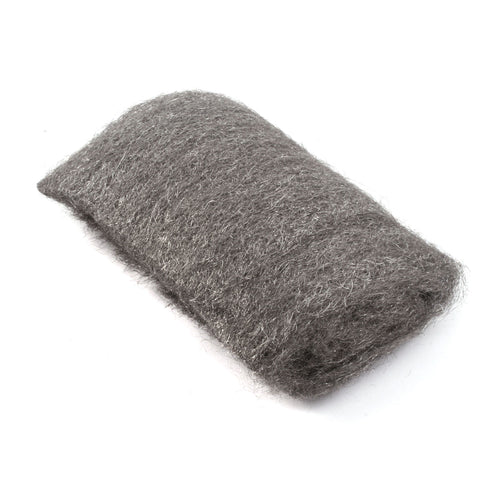
medium grit file extra fine steel wool
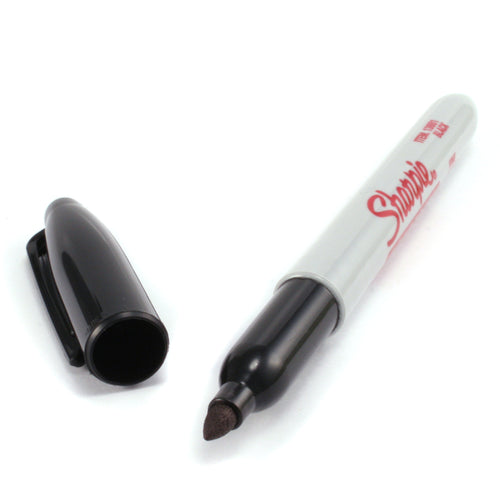
find the point permanent marker a larger
permanent marker for darkening your
impressions scissors graph paper this is
10 by 10 squares within one inch
gluestick and plastic templates when
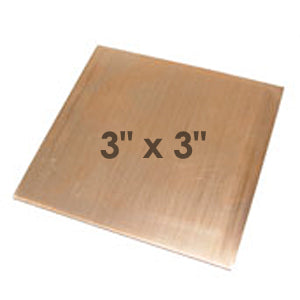
making punch metal jewelry you can use
sheet metal or blanks in today's class
were making earrings so you may want
some ear wires this technique offers a
lot of different design options as you
can see here I tend to stamp a large
piece of sheet metal and then fabricate
my pieces from that large sheet metal as
you can see here but you can also use
blanks which is really really handy also
take into consideration when you're
looking here you can do really simple
things like this sample here which is
just using the four-cross stamp in the
period stamp and stamping each
intersection of the graph paper so
that's pretty simple these ones here a
little bit more elaborate and we're
gonna go over how you can do that on
your own and then like I love this
little Chevron one because why not just
one stamp stamping it all over and it
creates a great texture in my book there
at 8 patterns plus one graph paper for
you to photocopy and use yourself of
course you don't have to use my patterns
in the book or my specific graph paper
you can find this readily on the
internet and at basic stores this is 10
by 10 so it's 10 little blocks by 10
little blocks in 1 inch and I find that
this is a great size because it's so
small and our design stamps are super
small so it allows for a lot of
different design options in different
quadrants so we're going to use this
today to teach you how to create your
own pattern so let's adhere it to our
sheet metal now what I do is I take a
glue stick I use a an extra-strength
glue stick and I apply the adhesive to
the sheet metal and you're going to want
to be kind of liberal with your
application because if you don't have
enough glue on here while you're working
your people will start to peel up and we
really want it to stay adhered the whole
time we're
okay you can also use rubber cement it
works great
I find that glue sticks sir
or rather we have help all around the
house so there we go you can see how
much glue is on here now what I do is I
place my graph paper face down and press
my metal on and let's trim off the
excess here and then I really burnish
this down with my fingers
no air bubbles pretty smooth and then
trim your access
all right now we're ready to punch for
the piece that we're going to make in
today's class I'm going to use these two
stamps which are two of my favorites the
period stamp and the crossed our stamp
we're going to start with the period and
let's talk a little bit about where I'm
going to start and why I like to start
by sectioning off a square within the
grid so for an example I am going to
section off a square that is four
squares like in here so it's a square
that's two by two and I'm going to
strike each corner of that square so
let's start with that
as you can see I've just started
establishing my pattern so I'm going to
keep working striking at each of those
corners for the whole little piece of
sheet metal here all right I have
completed the period stamps striking the
corner of each 2x2 square here and let
me show you a little trick sometimes my
eyes play little tricks on me they're
not as good as they used to be and I
can't tell if I have completed so what
you do is you flip it over and you just
take a peek just look around and skies
if you've forgotten one it'll be really
obvious and you can go back in and
strike that intersection alright so now
I'm going to add the cross star stamp
and I took a look at this and I've
decided that I think it'll look fast to
place this little cross star right in
the middle of the 2x2 square so let's do
that now
as you can see I'm being pretty
particular about the placement of my
stamp this stamping technique has a lot
of structure it's very uniform some may
say it's maybe a little you know
retentive but I think that that's why it
is so beautiful is because the
patterning creates this really
repetitive very uniform stamping will
keep stamping here you may notice that
when I was stamping the period stamp
I was just striking it once it's because
the period stamp is really just a good
teeny spear and you don't need that much
oomph behind your behind your blow to
get a nice impression whereas with the
cross star there's more design so we're
dispersing more metal so I'm striking it
twice you might even need to strike it
three times depending on your strength
in your hammer all right this is the
perfect time also to show you see how
it's starting to work now I usually let
this go for a while until it gets in the
way but once it starts to work what I
like to do is flip it over and take a
plastic mallet and give it a few nice
wax that just flattens it back out it
makes it easy to continue stamping
so I'm going to keep going off-camera
and fill the rest of the 2x2 squares
here I have the piece all finished
I've add the cross added the cross star
and all the little 2x2 squares I think
it looks pretty good now you could add
more designs if you wanted you could add
you know a little burst where the crusts
are meets the dot you could do all kinds
of things I'm just going to keep it kind
of simple I think it's nice so I'm gonna
remove the paper template off the sheet
metal and how I'm gonna do that is I'm
going to take it to the sink and put
some warm water on and just rub it with
my fingers and then I'm gonna brush it
with a used toothbrush and the reason
I'm doing that is because every time we
strike to create our impression we're
actually pushing the paper down deep
into the impression and that loes little
fine bristles on the toothbrush will
just clean it up and pop them off also
when I get back we can talk about this
little edge and how to clean that up
because if you're gonna do this
technique on a blank this is gonna
happen quite a bit so let's let's
remember to come back and talk about
that alright see you soon here's that
blown out edge that I was telling you
about so you can see the design stamp
forced the metal out past the edge so if
you're using a blank and you want to
keep that defined edge of the piece
you're gonna want to make sure to file
this file that way maybe even follow up
with a little sandpaper to smooth it out
here is the finished sheet metal I think
it turned out pretty cute looks good
let's talk about designing with this
sheet now we have been looking at it as
a square right because I kept talking
about a 2x2 square but the reality is
when you start designing you can cut out
shapes with a lot of different methods
you can use templates like we have here
but you can also just trace things you
know you could trace a bottom of a small
little jar for a circle really just kind
of look around your house and try to
find some interesting shapes the end of
a lipstick sometimes is a really nice
rounded square we're gonna use a
template so let me show you here how you
can look at the pattern in a different
way
let's start with the square so I can
trace the square onto the sheet metal
and then cut it out with shears so this
way I see it as kind of right angles but
maybe what I want to do is turn it
and have it come diagonal like that for
more interest maybe I want to use the
teardrop and I can have it square
starting with the period stamp at the
very tip or I can pivot and have the
cross rest coming across diagonally so
this is another way for you to expand on
your design I'm going to make a pair of
earrings using the teardrop shape my
fine tip sharpie marker here just trace
this
I also tend to make sure that I'm using
the smallest amount of metal so that if
there's any remaining I can use it for
another project so it's actually flip
this see if I can get another one out of
this corner
then with the shears I'm going to simply
cut out the shapes
sometimes when you cut with shears
getting around just small areas is a
little difficult so getting around this
little tip sometimes I'm gonna give it
quickly and then the straightaways are
the easiest parts of course if you have
a more complicated design you may
consider sighing which is one of my
favorite things to do I teach a class
here at education on song if you're not
familiar
here are the two little tear drops now
they don't look so pretty yet right
they're kind of rough around the edges
and we can still see the sharpie so
let's refine these a little bit bring
the bench bench block back into play
here there's got a little warped while
cutting them with the shear so I'm going
to give them a couple smacks and let's
remove the sharpie marker this is very
fine steel wool it's zero zero zero zero
steel wool which I find very handy for
cleaning things up or giving them a
rough little organic finish the edges
got kind of wonky when I was cutting
these shapes out with the shear so let's
refine these even more using a file I
like to flip it over and look at the
shape from the backside so I'm not
distracted by the pattern so here we can
see that we've got a lump
with filing I have the way I said as I
file on the push some people say that
you start from the tip and work down
that's so the grit is actually working
if you go back and forth back and forth
you're just kind of dulling your file
it's not the worst thing to do but you
might want to get in the habit of just
filing on the push it's nots getting
better just continue all the way around
smoothing out any lumps and bumps you
may want to darken the impressions for
example on this pendants targeting them
really makes the design pop you can also
just leave it blank or naked like this
my ring has no darkening in the
impressions but let's do it just for
examples sake so sometimes we like to do
what we call the quick and dirty method
here at education of darkening
impressions which is to use a sharpie
marker and you just simply draw all over
the blank filling all of those
impressions with ink it's a little messy
but it's okay of course you can also use
liver of sulfur black max depending or
hydrochloric acid depending on what
material you're using there's also a lot
of other really fun colored patinas out
there that would look great on this
technique
make sure to get that ink deep in those
impressions the period stamps hard to
fill in sometimes
nor did I think I filled everything let
it dry for a second you don't want to
touch a pro polish pad to this if the
ink is wet or even the steel wool
everything will just stick to it it
looks pretty good
bring that steel wool back in and simply
just rub the excess away
I'm gonna pop a hole in the top for your
wire because we're making earrings this
is our handy-dandy hole punch pliers
what I like to do is place the pin on
the piece and then I take a look and
make sure it's in the center and exactly
where I want it that looks pretty good
then squeeze and then simply we're just
going to add the ear wire so we have
these simple little ear wires and you
just take your chain nose plier and just
very gently pivot the loop open and I
just open them just enough to slide the
piece on take the ear wire thread it
through the front
grab that chain nose pliers again and
pivot it back and of course do the same
thing on the second piece there so that
you have a matching set and you have
these cute little earrings using the
punch melt technique I think they turned
out pretty great
here are some finished pieces of jewelry
I made with punched metal sheet here I
have a charm bracelet this is actually
in my book where I made three different
charms out of three different metals and
three different patterns I think it
creates a nice contrast with one another
here's the ring I was wearing earlier I
love that it's the only piece that I
actually wear daily that doesn't have
the impressions darkened I really I
really like how it looks and then these
two here with the copper I want to talk
about this one a little bit see how the
top of the circle is cut off well this
happens sometimes when you're doing
punch metal jewelry let's take a look
here can you see how there's a bite out
of the top like that and this is because
when you use a blank and sharp stamps
like the slash and the parentheses
sometimes when intersections meet you
can actually create a weak section in
the blank and it will pop off so just
make that a happy accident like I did
here and come up with a creative way to
make something else look beautiful out
of it if you'd like to replicate these
pieces that's going to point out that
this piece is riveted there are three
little rivets right there those are the
bee education nail head rivets and those
are the same things used here on the
leather bracelet but the ring has been
soldered these beautiful earrings were
made by Taryn McCabe here at bee
education comm she's on the design team
two very very talented she made these
after reading my book and I love her
interpretation of how to do repetitive
pattern but using a very detailed design
stamp well we're talking about design
design options I wanted to show you some
other sheet metal that I stamped these
four designs are very different from one
another but it's using the same
technique so the first one here on the
right is using the graph paper and
expanding your design further than the
2x2 square that we previously used this
one here I call it peacock design
because it has these nice arches that
patterns from my book and then these two
are simply using the graph paper and
striking it each intersection of the
graph paper but with different design
stands to create a different look so the
options are endless thanks so much for
taking my class I hope you had a really
good time and remember if you want a few
more patterns there are eight in the
back of my book and it also comes along
with twenty fun projects so I hope
you'll take a look and we look forward
to seeing you again here at Beaducation.com


Tools & Materials

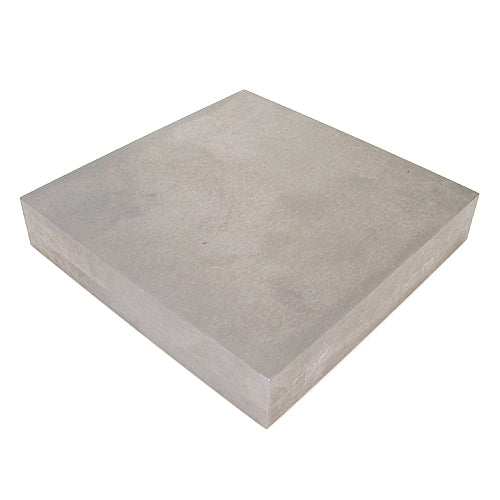
Steel Bench Block - 4" x 4"
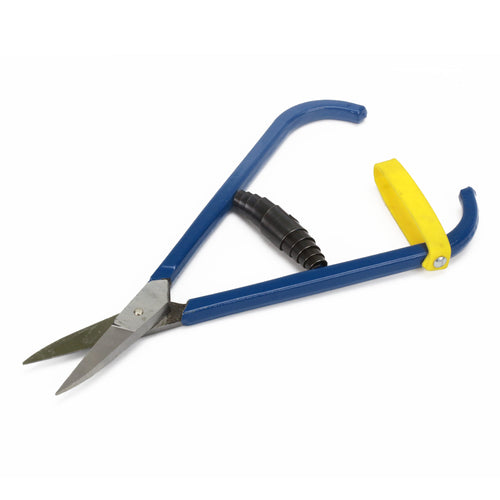
French Shears