Mandala Stamping
This is an intermediate level class, we recommend you have an understanding of Stamping on Metal before getting started.
hi I'm Taryn with Beaducation.com and
today we're going to have a fun class
where we're going to be stamping in a
whole new way we're going to be looking
at design stamps turning them upside
down roundabouts using letter sets as
ways to decorate your stamping projects
it's kind of a hybrid between collage
stamping and pattern stamping it's a lot
of fun if you're new to stamping feel
free to pop on over to Lisa Niven
Kelley's beginning stamping class where
you'll learn all the techniques you need
and then come on back and take this one
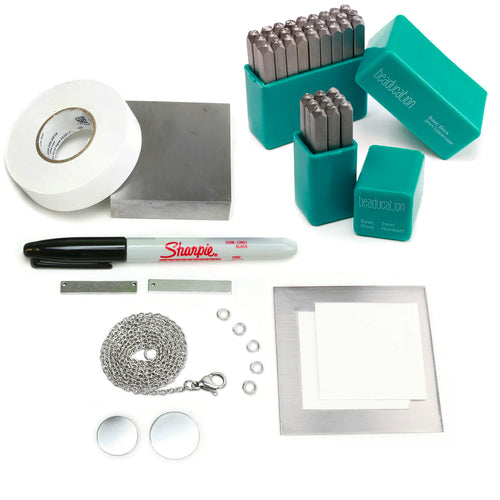
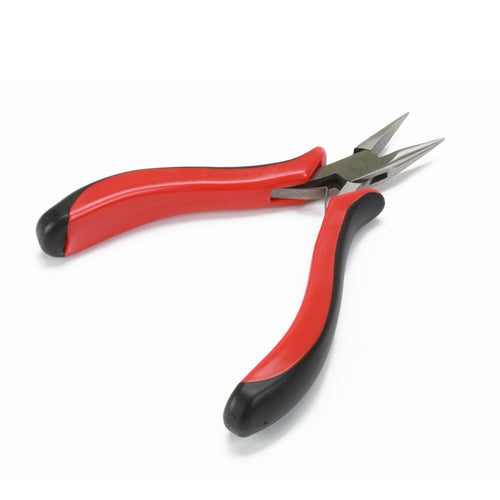
here's some of the tools we're using in
today's class we have two chain nose
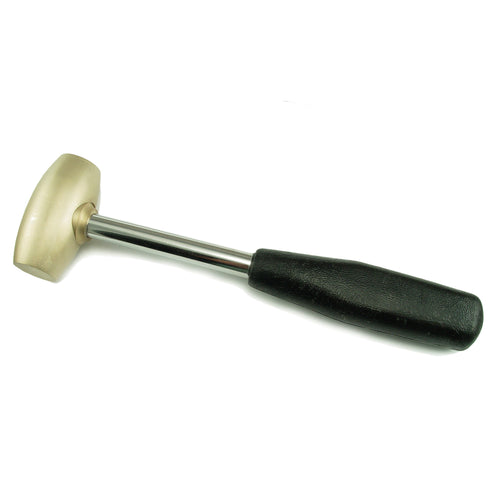
pliers a brass mallet an assortment of
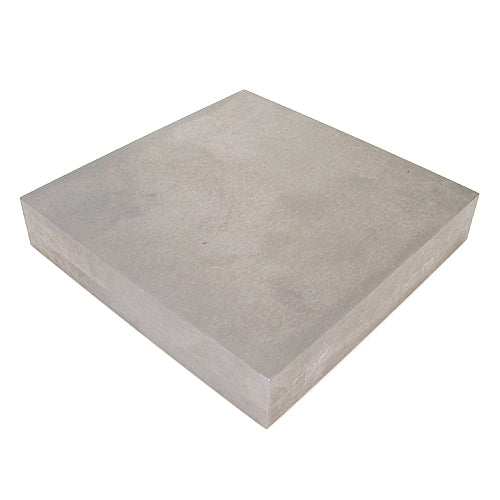
design stamps a ruler here we have a
bench block and a sandbag really helps
to quiet the hammering and simple pliers
if you want more information about
stamping check out our stamping
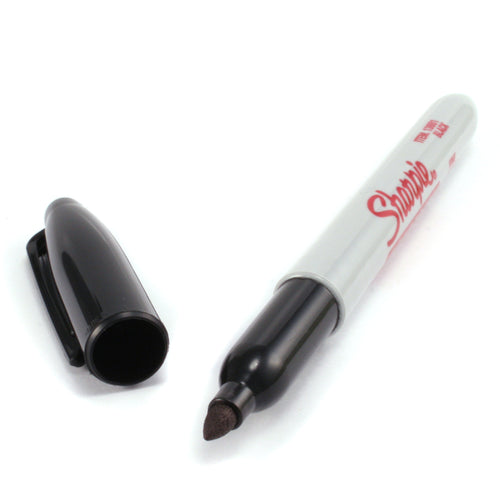
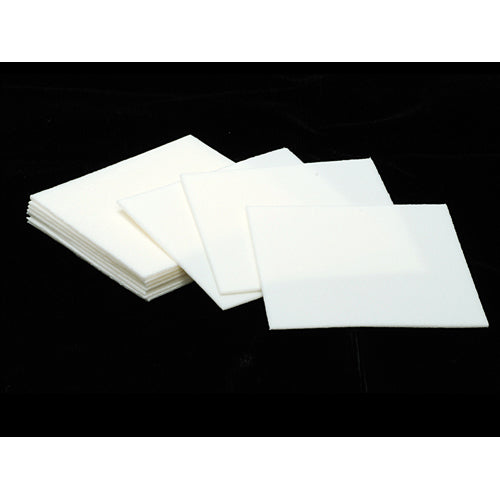
checklist online we have Pro polished
pads a sharpie marker a plastic mallet
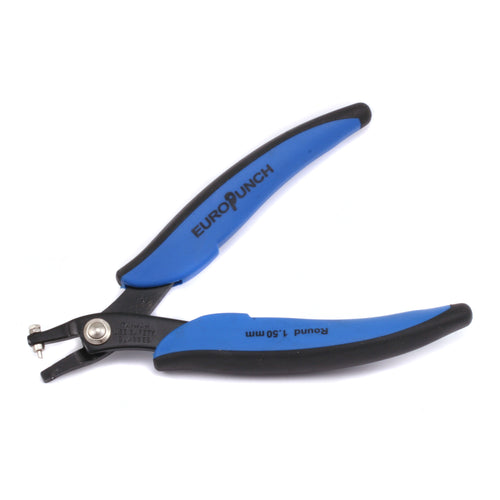
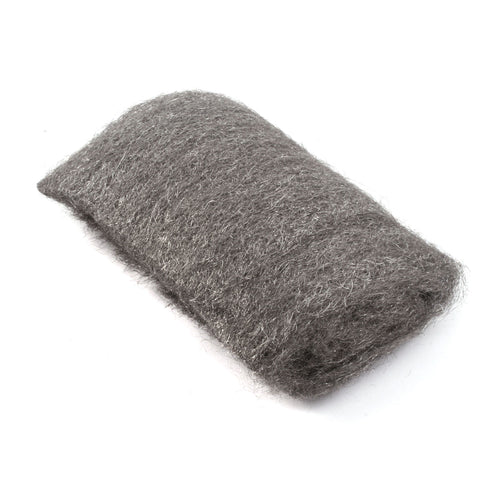
extra fine steel wool I believe this one
is four zeros and a hole punch pliers
for today's project we're going to use a
one and a half inch circle blank we have
here examples of other blanks that you
can use we have a ton of them to choose
on the website that come in a variety of
shapes sizes and metals
we're going to start off by getting a
circle divider which we have online at
be education comm forward slash charts
so we printed one out and then we're
going to take our blank and we're going
to Center it on the circle divider and
we want to divide our blank into four
quadrants just with a marker so I'm
going to go ahead to find the center
part and to divide it we're going to
line up our ruler
more accurate you can be the better
there we go we want to we want to divide
it into four different sections because
we're going to be stamping this entire
blank and we really want to create a
pattern that's neatly we want all of the
designs allocated really well and we
want it to look neat and orderly even
though there's going to be a lot going
on here is an example of what we're
going to make so this is a copper circle
and we have multiple stamps on it we're
going to start with the circle with the
center there's a small little cross and
then we're actually going to do the
border next that way if you just start
in the center and worked your way out
you might actually run out of a room for
what you want to stamp so this way you
have a completed border a perfect Center
stamp and then we're going to grow
within those stamps so we have our blank
situated on a bench block and I'm going
to grab a circle design stamp I'm going
to situate it right in the center as
best as I can on our Center mark and I'm
going to go ahead and take my brass
mallet and give it a couple good Wallops
I'm pretty heavy-handed I love how I
feel like the heavier the deeper the the
print of the design stamp it gives it
more like an antique look I think it
really gives it something for the
oxidized ox for the sharpie or the liver
of sulfur to really go in and and make
it dark my next stamp I'm going to grab
one of these squares and I'm going to
start at the one end of our design of
our divided line I'm going to line it up
right on that line there and I'm going
to hit it pretty much four times one for
each corner of the square
then we have a little square let's go
ahead and rotate it and we're going to
work on each of those two lot of those
dividing points oh okay that one wasn't
as strong so I'm going to go ahead and
match my design stamp in it a few more
times Simon with that when I've done
those four points then I'm going to
eyeball it and go in the center so I'm
going to go right in between those when
I said Center I meant
center of those two stamps so
so once you then we've done our four
lines we've done in between there we can
stamp in between those with the same
stamp if we wanted or we could switch it
up we actually have a smaller square
that I think would be cute so I'm going
to grab a smaller square and then go in
between those the nice thing about
having it divided is you know that
everything is allocated really evenly so
you don't start at one point and make
your way around and find out oh I don't
have room for that last stamp or too
much it just works out really
beautifully
and then we have a nice border so if you
prefer your border to be a little bit
more full like you see that there's some
voids in between where the squares are
then you can take another stamp and
stamp in between those points if you
feel that there's not enough room to
accommodate a full design stamp then
what I like to do so we have this little
decorative stamp I'm going to take the
part that's a little more angular I'm
going to just kind of cozy it right in
between the squares and I'm going to
angle my design stamp in towards the
center of the blank we want to make sure
when we hit it that it all hits on the
blank and we don't accidentally imprint
on our bench block if you do it's a
little bit of a bummer because you can
it's a problem for your design stamp you
can dull it because hitting the steel
and if you imprint your bench block then
when you're doing further projects you
can get that design into your other
projects so I'm just going to take it
angle it in and then you get a little
bit of a neat design just on the edge
one of the things that this can do is it
can kind of distort your circle so it
has a little bit more of an uneven edge
some people like that makes it look
really antiquey other people might want
to clean it up with a file
we're going to continue to stamp from
the center out I'm going to keep using
this spiral finial design in the middle
because I think it's nice to connect the
border to the inside so I'm going to
again we're going to start we're working
in our quarters so I'm going to start
stamping right on the line
see right there I actually got a lot of
shadow on that design stamp and that's
okay because we're going to have so much
decorative pattern that I think it it's
not going to look like a problem it's
going to really look like it's part of
it
so once we've got our four I'm going to
go ahead and pick another design stamp I
think I'm going to go with a heart this
time and I'm going to I'm going to grow
in between the stamp so we just did it's
nice to think about shapes that work
with what you're the void or the space
that you have so right where these
circles look it's almost like a V and I
think art will really work well in there
and at this point we'll keep picking new
design stance so I'm going to grab I'm
going to grab a triangle and I think I'm
going to stamp it right at the top of
our of our spiral finial see little
triangles pointing out and then we'll
change to a new design stamp I'm going
to go back we have another triangle
it's a little stouter but I think it's
nice to repeat stamps because I think
that it's good to see things multiple
times I'm going to put them above our
O's
then we'll rotate to a new one we have
this is a little spiral leg it kind of
looks like smoke I'm going to try and
fit that on top of our point to your
triangle see how that works if things
overlap that's okay I think it just adds
to it like this one
hump it there's space but I see that
there's a lot of space right here so I'm
going to go ahead and add it there if
you're a stickler for the rules you
don't have to deviate but I kind of like
just filling in where there's voids
especially at this point where we follow
the rules so you can see we pretty well
filled it with a lot of design stamps if
you're happy with it that's exciting I
like it but this is another opportunity
to use one of my favorite tools which is
the dimpling plier so if you think like
for some of the larger design stamps
like the square you notice that there's
nothing in the center you can use this
dimpling plier which I love just has a
nice little 1 millimeter or well this
portion comes down and creates a little
1 millimeter hole so I'm going to go
ahead and grab our blank I'm going to
take this I think I'm going to go inside
every square so I'm just going to take
that apply some pressure that takes us
to the beginning so at this point if you
were really heavy handed and you stamped
it very hard there's a chance that your
blank could have then gotten a little
misshapen ideally we want it nice and
flat and what you want to do to flatten
out your blank is we're going to then
take a pro polish pad I'm going to cover
our bench block if you don't have a pro
polish pad you can you actually can
hammer on there it's just going to pick
up a lot of the imperfections or you
could use a piece of leather
some people even tape their block it's a
lot of different options this is so easy
so we're just going to put our blank on
the other so I'm going to put it fancy
side down so I'm going to put the design
stance down and I'm going to take our
plastic mallet and I am going to hit it
very hard with a lot a lot of pressure a
lot of hits because we really want to
flatten it you can hit as many times as
you need to to flatten it and if you
also want to flip it this way in hammer
it whatever way is going to get the job
done you don't have to worry so much
about this side marring it because it's
a nice soft material plastic after we
really hit it hard have it nice and flat
with this one I'm just going to grab
like a thicker we don't want to use a
fine tip so we had some of thicker
sharpie and I'm just going to go ahead
scribble over this oops
you want to go ahead and go back and
forth a lot because you want to make
sure that the deeper impressions get the
Sharpie in it especially some of those
dimples it can be more difficult to
color in so we want to let it dry if you
don't let it dry you can make a mess
with your polishing pad sometimes I'll
pick it up and kind of wave it around
then I'm gonna blow on it because I
don't think it's done I'm going to take
this and a pro polish pad and I'm just
going to take away the excess you'll see
it starting to come off it's already
starting off beautiful
Oh am i one of my challenges is I like
things to be fast and easy this is kind
of taking too much time which if you
want it really shiny you must persevere
and use that Pro polish pad I like
things to look a little bit antique I
like texture so I'm going to grab some
steel wool and I'm just going to take
this steel wool works magic wonders
really really fast and it gives a little
bit of a muted shine because you're
going to have that the marks from where
the steel will actually marks the metal
but it still looks beautiful so here we
have our polished mandala so now we want
to punch a hole in it unless you want to
keep this just as a beautiful coin so
I'm going to grab a pair of the hole
punch pliers you can kind of pick where
you want it to hang sometimes you might
stamp and it looks like there is an
actual top or a bottom but you get to
pick wherever you want I think I'm just
going to put it where one of the dimples
is in a square pop a hole in that and
then we'll get ready and put a put a
jump ring through that you could also
use a Tina like we did with these where
we ended up using metallic colors and it
looks almost like these are two
different metals so this is a fun
alternative
so this is our finished product once we
put a jump ring and a chain through it
and behind we have other examples of
what you can do using different various
shape blanks like this is one of our
plaques and here we have the guitar pick
I love how with this one you could
actually use a coin or something to
create a circle and find the center and
then build it out so it doesn't have to
cover your entire blank you can kind of
offset what you're stamping and create a
design on top of the design of the blank
so you're working with the shape I think
this one looks like lace this one's one
of my favorites because if you don't
have a ton of design stamps this one's
made entirely from a letter set so we
have OHS C's Peas or no I think they're
bees DS a lot of letters these this is a
fun fun way to do the same project just
with a letter set or a couple letter
sets and then up here the two top ones
are actually rings this is almost
exactly the same project same blank
different stamping same technique but we
ended up using the nylon jaw ring
bending pliers and then you can create a
ring from it which i think looks
fantastic and same with this one we use
the nylon jaw ring bending ones with the
plaques and then just stacked them so we
have a border on top of it a lot of
awesome opportunities lots of different
adventures I hope you enjoy making them
thank you so much for taking my class I
hope you enjoyed the project we worked
on I hope you also continue to make more
of your own because even if you use the
exact same stamps they always turn out a
little different so good luck and stay
up on